This article outlines how to create subscription forms with three plugins: GravityForms, GravityForms Stripe Add-on, and GravityStripe. GravityStripe has advanced subscription capabilities found nowhere else in WordPress!
Setting up the plugins for a subscription form
- Purchase and install the Gravity Forms plugin
**Important – you must purchase the Pro or Elite version of GravityForms – otherwise GravityStripe will not work with the Basic version** - Install the free Gravity Forms Stripe Add-On
To find this, go inside of the Gravity Forms plugin, navigate to add-ons, then search for the Stripe Add On tile (see below) and Activate it

3. Install GravityStripe on your website (you must have done #1 and #2 above to activate!)
- For free versions, install directly from WordPress
- For pro versions, purchase, download and install the plugin from here
Now it’s time to setup all of these things.
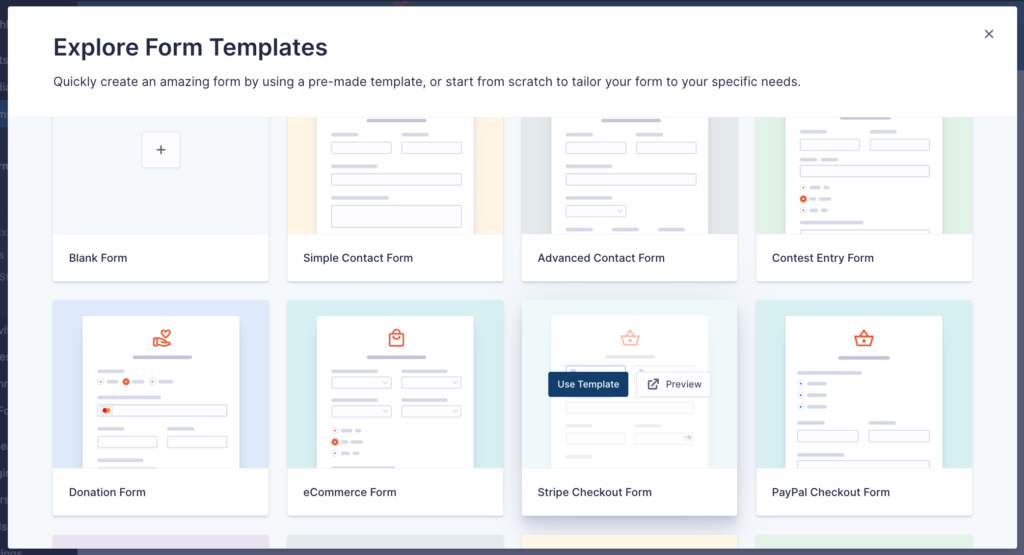
Create a new subscription form in Gravity Forms (you could even use a template to start)
Set up Stripe Add-on
In the Gravity Forms Plugin Settings, select Stripe Add-on Plugin.
Next, you must do the following REQUIRED steps:
- Connect to your stripe account
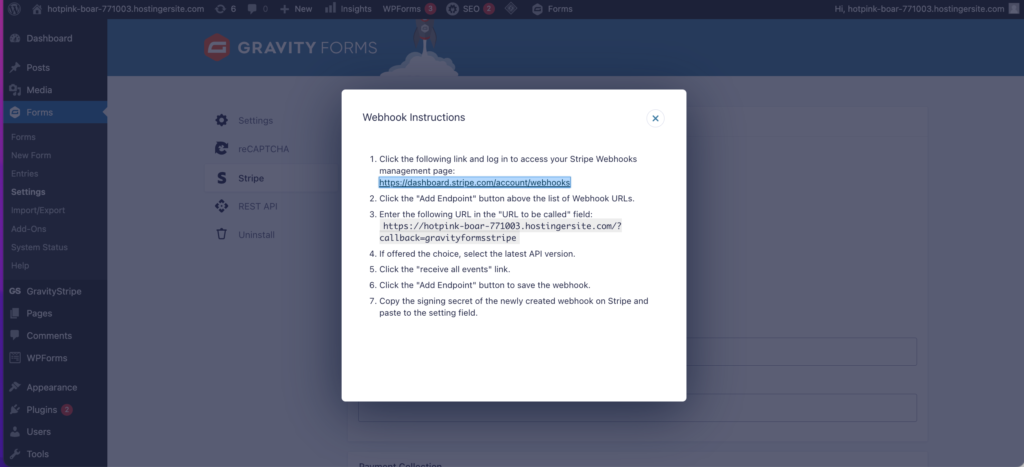
- Set up the Webhook (don’t just check the Webhook box in Gravity Forms – this has to be done in your Stripe account).
Set up GravityStripe
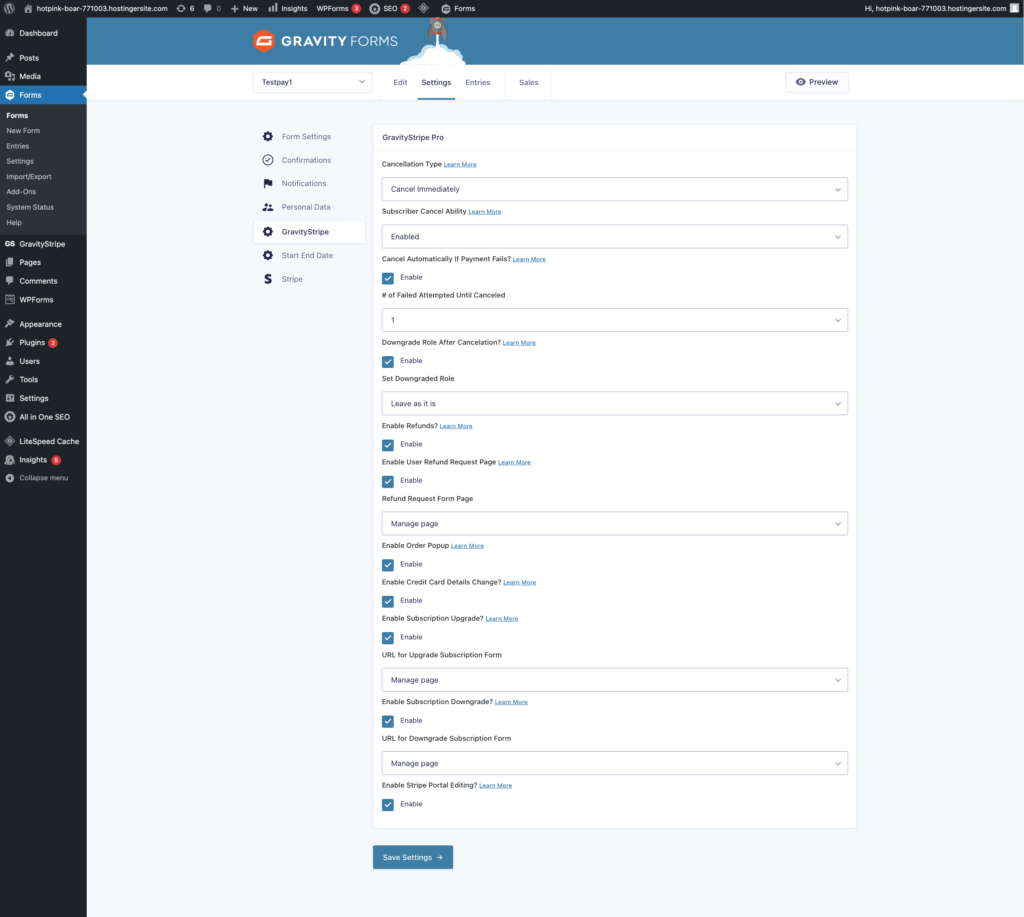
Open GravityStripe and configure all of your subscription management options
- Some of the GravityStripe settings are within Gravity Forms
- The rest of the settings are inside of the plugin itself
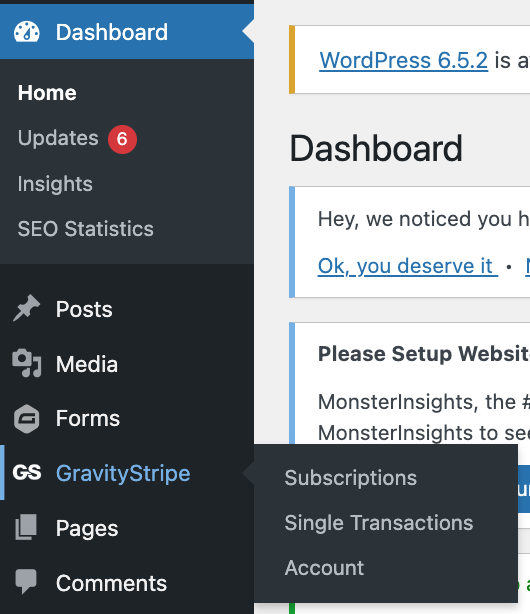
- Once GravityStripe and the form have successfully been configured, you can manage subscriptions from the subscription tab
- Admins can also allow users to self-manage subscriptions by using the shortcode on this page
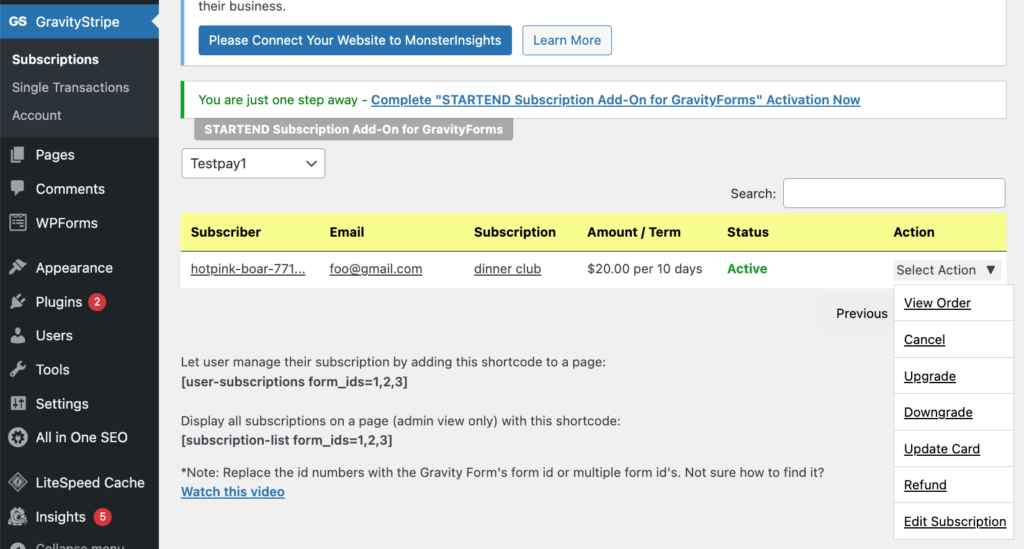
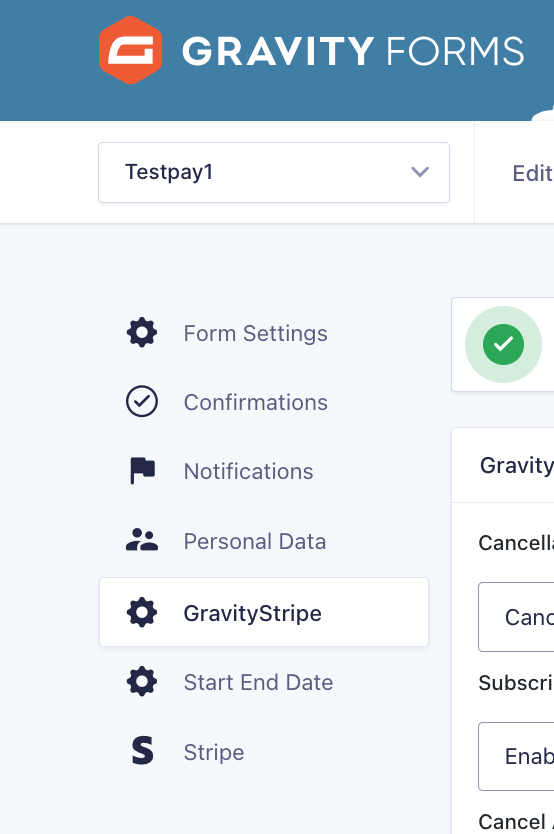
** In order to utilize all of the subscriber actions GravityStripe offers, you must turn on the GravityStripe settings inside of Gravity Forms (shown below) **
